Duration 4h 32m Project Files Included MP4

Title: Udemy – Create a realistic shoe with Nomad Sculpt
Info:
What you’ll learn
Create a realistic shoe in Nomad Sculpt
Work with Hirez meshes
Explore new ways of working with Nomad Sculpt 2.9
Paint ultra realistic effects using layers
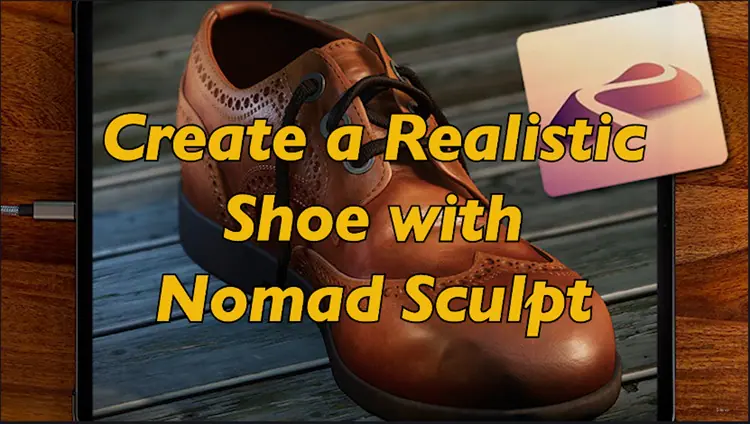
A realistic leather shoe is a surprisingly good test of your Nomad skills. It needs convincing proportions, smooth curves, crisp construction and surface detail that suggests leather rather than a lump of brown plastic. In this course, we’ll create, paint and light a realistic brogue shoe in Nomad Sculpt, working from reference images through to a finished render. Along the way, you’ll learn techniques you can use on plenty of other projects, even if footwear isn’t your lifelong artistic obsession.
We’ll start by using reference images to understand the shoe’s shape and construction, then build up the basic form. We’ll pay attention to the proportions and the way the different parts fit together. But I’ll aslo point out the pitfalls of using multiple reference images – it’s not your fault, it’s the photos. That took me years to figure out.
From there, we’ll extract high-resolution leather panels, giving us the detail we need while keeping the construction manageable. The aim is to make deliberate choices and understand why they work, rather than just follow a series of button presses.
Partway through recording, Nomad Sculpt 2.9 arrived with some very useful new features. Naturally, I put them to work. You’ll see the course move into 2.9 and learn how its new snapping tools help us create precise, smooth shapes with a level of control that would previously have been almost impossible to achieve. For a subject like this, where clean curves and carefully placed details matter, these tools are indispensable.
Once the shoe is built, we’ll develop its leather finish by applying colour and roughness separately. That distinction gives us much more control over how the surface looks and reacts to light. We’ll also use layer blend modes to build subtle variations and enhance the realism. Leather needs a little character, but there’s a fine line between a beautifully worn shoe and something you’ve just retrieved from a swamp.
We’ll create the laces, then give the finished shoe a simple setting using the incredible new 2.9 material library, with materials courtesy of Poly Haven. Next comes lighting: choosing how to show the form, bring out the surface detail and make all that careful work visible. We’ll finish by using Post Processing to enhance the image and bring the presentation together.
The course also includes 15 tools from my Nomad Sculpt Art Studio, a collection of over 400 tools. You’ll use the included tools as part of the project, so you can see what they do and how they fit into a practical workflow.
By the end, you’ll have a finished brogue shoe and a clearer understanding of how modelling, painting, materials and lighting work together. More importantly, you’ll have a set of techniques to take into your own projects, where convincing surfaces and controlled detail make your work leap out of the screen.
Who this course is for:
Intermediate students of Nomad Sculpt, although I explain all the tools as I use them


https://rg.to/folder/8936040/Udemy%20Create%20a%20realistic%20shoe%20with%20Nomad%20Sculpt%20L.html

http://alfafile.net/folder/GB5x

https://nitroflare.com/folder/10203/Lz5IwMjYvVWRlbXkgQ3JlYXRlIGEgcmVhbGlzdGljIHNob2Ugd2l0aCBOb21hZCBTY3VscHQvVWRlbXkgQ3JlYXRlIGEgcmVhbGlzdGljIHNob2Ugd2l0aCBOb21hZCBTY3VscHQgTA==