
onOne Perfect Photo Suite 8.5.0.672 Premium Edition(Win/MAC)

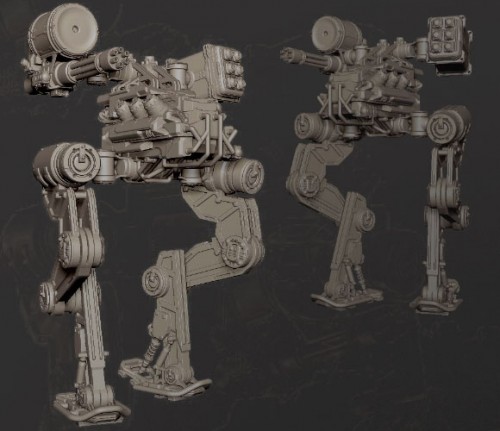
ZbrushWorkshops – Hard Surface Sculpting In ZBrush With Tom Paul
Learn the techniques to sculpt hard surfaces inside ZBrush
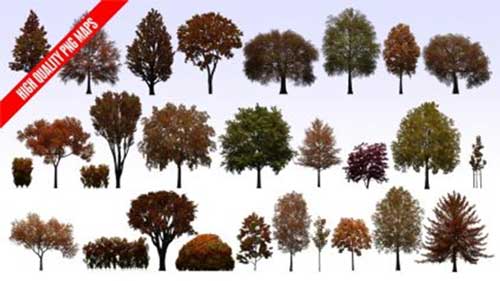
Evermotion – Textures4ever vol.9 – Fall and Winter Trees | 10.8GB


Avid Media Composer 7.0.4 and NewsCutter v11.0.4 Win64 | 2.4 / 2.08GB

Udemy – Maya – Advanced Rendering with V-Ray

Hourences – The Solus Project: Blueprint Continued 1 | 4.6GB
Sjoerd Hourences De Jong | UE4 4.0 or newer | 3h 58m | Advanced
 Duration ?1h 1m Level Intermediate Project Files Included MP4


